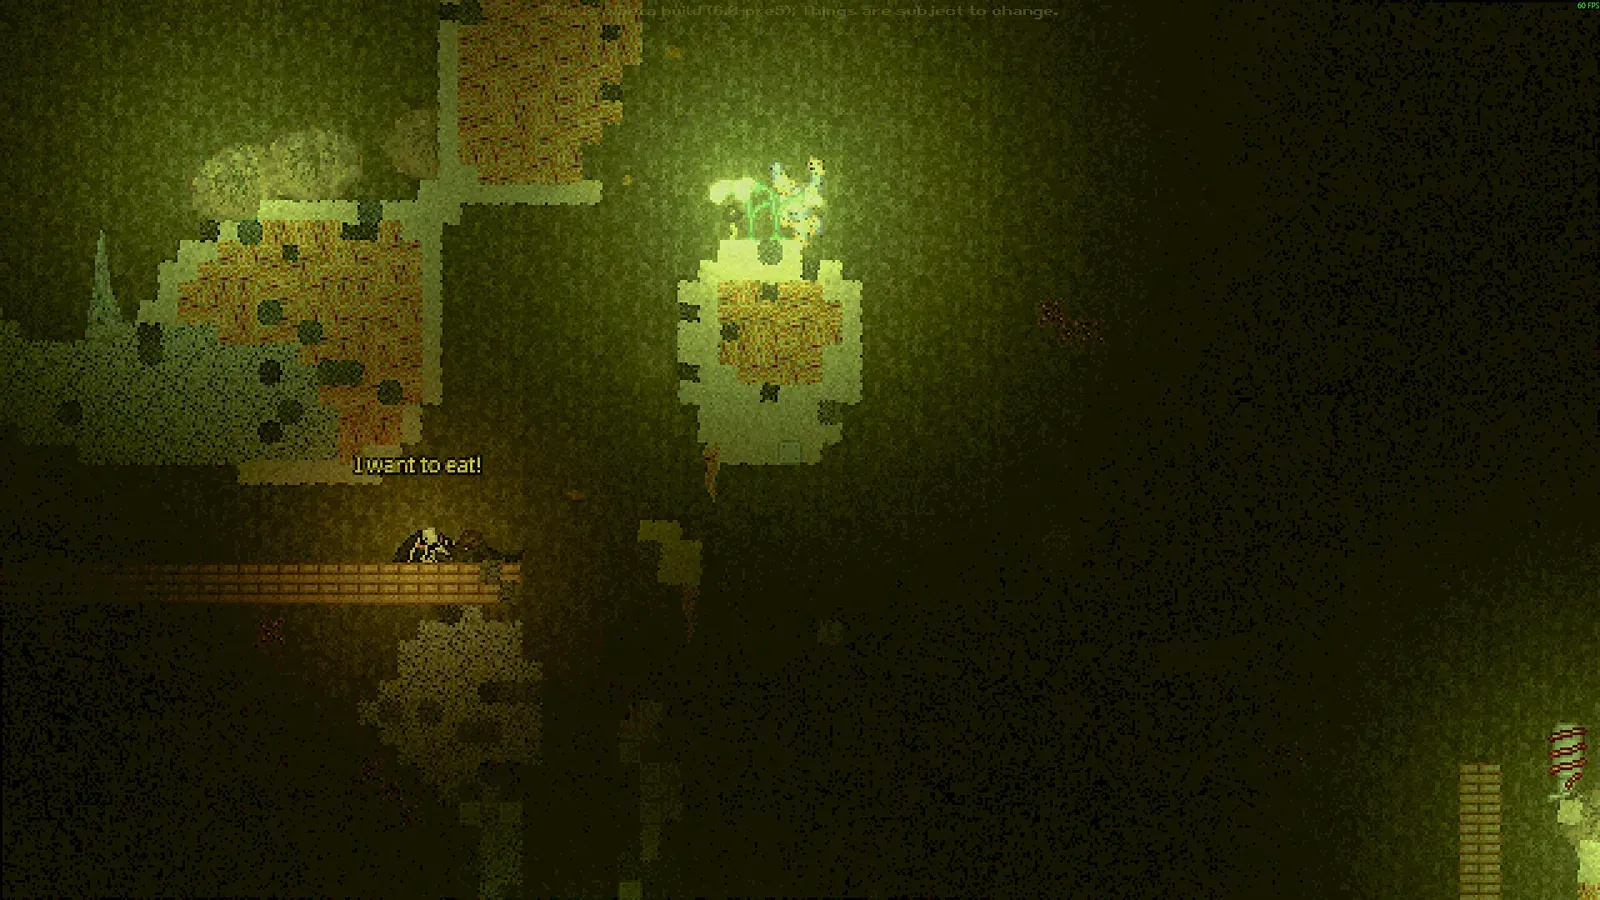
Casualties: Unknown does not tutorialise the things that kill you. It gives you a light, a cave and a body that can bleed, break and panic. This beginner guide covers the decisions that matter in the first hour, based on the current Demo 7.0.1 build.
Before you start
Start on Normal for the intended balance. Relaxed doubles the layer timer and gives you a starter kit, which is useful if you want to learn the systems without the resource pressure. Paradise triples the timer and brightens ambient light. Desolate and Unchipped are challenge modes; leave them until you have reached the Overgrown Depths once.
Complete the tutorial courses. First Aid teaches the health panel and minigames, while Crafting teaches the recipe UI. The advanced First Aid and Crafting courses unlock after reaching Layers 2 and 3, so you can return to them later. If you skip them, you will teach yourself the same lessons with a tourniquet and a lot of swearing.
The game contains graphic violence, dismemberment, depression, drug use and self-harm. The settings menu has a censor option for low-mood events. Read the in-game content warning and decide whether that is something you want to engage with.
Controls
The default keyboard layout is deliberately compact. Learn these keys before you rebind anything; the game’s tutorials and guides assume them.
| Action | Default key | Why it matters |
|---|---|---|
| Move / crouch | A D / S | Crouching halves your height and the amount of wall you must tunnel through. |
| Climb / jump | W / Space | Wall-jumps and slides are your fall-control tools. |
| Ragdoll | X | Lets you squeeze through two-tile gaps and absorb some falls. |
| Health panel | R | Treatment, limb selection and vitals. The most important screen in the game. |
| Crafting | C | Recipes, pinned builds and intelligence requirements. |
| Inventory | Tab | Weight, containers and the radial equipment slots. |
| Throw / switch hands | T / Q | Disarm traps, test drops and keep a light in your off hand. |
| Show descriptions | Shift | Hold while hovering over an item to see its full stats and value. |
| Time scale | 1 2 3 | Speeds up boring waits and slow stamina recovery. |
The first ten minutes
You start in a life pod with an Emergency Light. Move it into a hand slot, then open both doors. Do not sprint into the first tunnel. Stand still for five seconds and listen: the cave audio tells you whether water, a geyser or a crawler is nearby.
Your first objective is Foliage. Glowplants and Geotrees are the best sources in the Gravel Lands. Break them with a left-click and collect the drops. You need:
- 2 Foliage for one Rope.
- 3 Foliage for one Canvas.
- 1 Rope + 2 Canvas for a Foliage Bag.
That is eight Foliage in total, which is usually two or three plants. Craft the intermediate items as you harvest instead of carrying raw leaves. Open the crafting menu with C, pin the Foliage Bag recipe if you like, and craft it at INT 5.
F. Crafting automatically consumes nearby items, and there is nothing worse than turning your only container into a Rope because the recipe was still selected.
While you are harvesting, look for a Hydreed. Its Aquapples are a quick hydration source, and the plant itself can be broken for water in an emergency. Do not rely on them; they perish quickly. A Canteen at INT 6 is the real upgrade.
Reading the HUD
The health panel is not decoration. It is the game’s actual difficulty menu. Open it after every fight, every fall and every new layer.
- Brain integrity is the top-level life stat. If it reaches zero, nothing else matters.
- Blood volume and bleed rate tell you whether a wound is survivable. A limb can only bleed as much as its missing skin health allows.
- Consciousness below 30% means you are incapacitated. Pain, blood loss and energy all drag it down.
- Total pain above 75 builds pain shock; at 66% shock you pass out. Above 99 pain you ragdoll immediately.
- Infection is hidden until it is significant. A deep bite is a reason to disinfect even if the limb looks fine.
- Moodles are the icons at the bottom of the screen. Hover them. They tell you what the numbers mean in plain language.
The injury triage tool turns those readings into a treatment order. The short version is: stop catastrophic bleeding, protect the airway and consciousness, then disinfect, then splint, then manage pain.
Your first-hour plan
Think in crafting tiers. Each intelligence level unlocks a tool that solves a problem you are about to have.
| Target | INT | Materials | Problem solved |
|---|---|---|---|
| Foliage Bag | 5 | 1 Rope + 2 Canvas | Inventory space and 25% weight reduction. |
| Canteen | 6 | 2 Plastic + Rope + 10 mL Bio-chem | Carrying clean water between layers. |
| Sling Bag | 7 | Foliage Bag + String + 2 Rope | A wearable 40% reduction container. |
| Makeshift Digging Tool | 7 | Flimsy Knife + Rope + 2 Stick + 10 mL Bio-chem | Tunneling when the natural route disappears. |
| Splint | 8 | 3 Wood Panel + 2 Scrap Tube + Nails + Hammer | Fractures and dislocations without losing the run. |
| Tourniquet | 9 | 2 Rope + String + Plastic + 10 mL Bio-chem | Instant bleeding control. |
Intelligence is the skill that compounds. Every new recipe crafted for the first time gives +10 INT experience, every Blueprint gives 25, and every E-PDA read for the first time gives 35. If you find a life pod, read everything in it before you leave. The full crafting guide covers the recipe tree and the INT failure thresholds.
The five common deaths
1. The blind drop
Falling is the fastest way to lose a run. Never step off an edge you cannot see the bottom of. Throw a Glowplant Fruit or a piece of junk down first. If the drop is longer than your screen, find another route or build one.
2. Bleeding you ignored
A limb can bleed silently while you loot. Check the health panel after every fight. A Tourniquet stops the clock instantly; a Dressing fixes the wound. Do not confuse the two.
3. Infection from a dirty wound
Skin health below 80 can seed an infection every 40 seconds, and bleeding raises the chance further. Disinfect with a Glowplant Fruit or antiseptic, then bandage. If the limb is already infected, antibiotics buy time; amputation is the last resort.
4. Traps you treated as scenery
Spike Traps blink red before they fire. Bear Traps cannot be disarmed by dropping items. Landmines explode after a delay and can remove a limb. The bestiary lists the counter for every trap.
5. Low mood
Mood is not flavor. Below -20, movement slows and item use can fail. Below -75, most medical items are locked out completely. Eat something you enjoy, avoid corpses, carry a Soothing Crystal if you find one, and do not stand still in the dark.
When to descend
The bottom of each layer gives you a save-and-exit prompt. Do not take it just because it is there. Before you descend, make sure you have:
- At least one working light source and a backup.
- A water container with clean water.
- One bleeding treatment and one disinfectant.
- Enough food to cross the next layer, not just the current one.
- Empty inventory space for loot and crafting materials.
The Gravel Lands are generous. Use them to build the kit you will need in the Deeper Gravel Lands, where the lights go out and the water starts rising. Our Layer 1 page has the full hazard list and route notes.
Next steps
Once you can reliably reach Layer 2, stop optimizing Layer 1 and start learning the injury system. That is the real skill ceiling of Casualties: Unknown. The injury guide explains bleeding math, infection thresholds and the treatment order in detail.
If you would rather learn by doing, open the triage tool in a second tab and use it during your next run. It is built for the exact decisions the game throws at you, not for real-world first aid.